TM 10-1670-296-20&P 0017 00
0017 00-4
f.
Examine the internal parts for a buildup of dirt and corrosion.
g.
Compressed air may be used to remove any dirt and debris from the parts and the internal bearing
surfaces. For rust and corrosion found on parts and the internal bearing surfaces, a stainless steel
wire brush or emery cloth may be used.
CAUTION
The idler link rides on two friction pads riveted to the inside of each side
plate. Small chips on the friction plate near rivet area are acceptable
damage. Any side plates identified as having any breaks, cracks, or
excessively worn friction pads in and around the center of the friction
pad (the location the idler link rides against) will be removed from
service.
h.
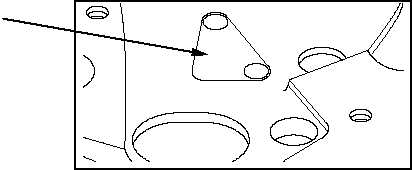
Inspect friction pads on each side plate for damage, cracks or excessive wear.
NOTE
If the cap screws in the idler link are not facing in the same direction,
remove the cap screws and reassemble so they are both facing UP.
i.
If the cap screws in the idler link are loose or the parts do not move freely, use a 7/16-inch open/box
end wrench and slip joint pliers, remove the idler link cap screws, clean components and apply solid
film lubricant to the bare metal parts.
j.
Reassemble idler link applying a thin coat of Locktite No. 222 to the threads of the cap screws.
Friction Pad


