TM 10-1670-293-23&P
0012 00
0012 00-9
(4)
Make a ½-inch foldback on each raw edge. Pin and baste each foldback to complete the
prepared hold. Basting will be performed using the procedures in the “BASTING AND
TEMPORARY TACKING” paragraph detailed above.
(5)
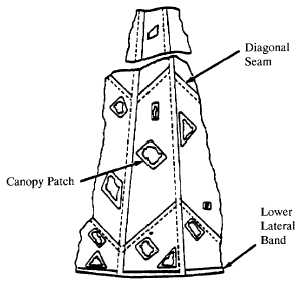
Using the same type of material as in the original construction, mark and cut a patch 2½-
inches wider and longer than the inside measurements of the prepared hole.
(6)
Center the material over the prepared hole. Pin the patch material in position.
(7)
Make a ½-inch foldunder on each edge of the parch material, and baste the patch to the
prepared area. Basting will be performed using the procedures in the “BASTING AND
TEMPORARY TACKING” paragraph detailed above.
(8)
Remove the pushpins securing the canopy to the repair table; secure the patch by stitching,
using the applicable details in “STITCHING AND RESTITCHING” paragraph and figure detailed
above. Make the first row of stitching completely around the patch. Turn the canopy over
and make a second row of stitching around the prepared hole. Stitching will be performed in
accordance with the “STITCHING AND RESTITCHING” paragraph detailed above.
(9)
If applicable, restencil informational data, or gore number, according to procedures in WP
0014 00.
b. The parachute mending cloth patch. A second method of applying a basic patch is by use of 36-
inch-wide adhesive nylon parachute mending cloth. Patching limitations outlined in step (1), above,
shall be adhered to. Apply a parachute mending cloth patch as follows:
NOTE
Age life for the nylon parachute mending cloth, prior to application, is
three years from the date of the adhesive coating, which is marked on
each roll of mending cloth. Use no more than two mending cloth
patches on a canopy section.


