TM 10-1670-296-20&P 0013 00
0013 00-2
d.
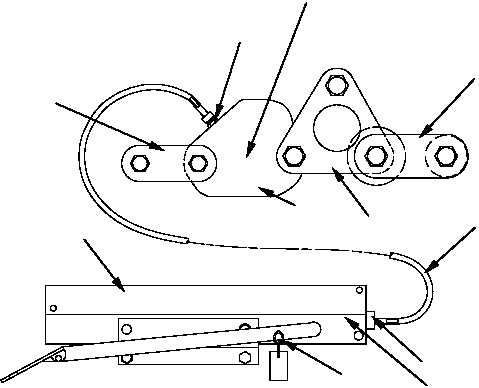
Using a suitable tool, loosen the nut (11) securing the cable assembly (2) housing to the latch
assembly (7). Disconnect the cable-swaging terminal (6) from the latch assembly (7) by removing
the straight-headed pin and the ½-inch (1.2 cm) long cotter pin.
2. Remove 3-point link assembly (8) from latch assembly and remove latch connector assembly (9) and link
assembly adapter (10) from link assembly as follows:
a.
Using a suitable tool, disassemble the 3-point link (8) by removing the three 1-inch hexagon jam
nuts, the three 1-inch hexagon cap screws, the two spacers, and the single cam from the two 3-point
link assembly side plates.
b.
Using a suitable tool, disassemble the latch connector assembly (9) removing the 1-inch hexagon
jam nut and 1-inch hexagon cap screw from the opposite side of the latch assembly and remove
both side plates.
c.
Using a suitable tool, remove the remaining 1-inch hexagon jam nut and 1-inch hexagon cap screws
securing the side plates of the link assembly adapter (10).
3. Clean each component as follows:
a.
Use the procedures in WP 0008 00.
b.
In addition, remove dirt and other foreign matter from a component by shaking or brushing, as
required.
c.
If necessary, remove dirt and debris from inaccessible locations using a compressed air hose.
6 (unseen)
10
8
7
2
1
4
5 (unseen)
9
3
11


